#6 Responsive Server-Side Images (img)
Best-Possible Image for Every Screen & Device
...using img and srcset
HTML has a few ways to show an image, and you should know which way is best. Discover:
img for your standard image- enhancing images with size-detection using
srcset and sizes
These examples are optimized.
The browser will only load new images, if they are larger than the previous one.
So to see the effect, you must make the browser very small (narrow), reload the page, and then drag it wider.
Some examples show the currently loaded URL below it, and the difference may be very small as it changes. So look closely 🔍
Info about the Base Class
This tutorial inherits from the Custom.Hybrid.Razor14 base class.
This allows us to use Kit.Image to access IImageService without having to use GetService<>
Responsive img with srcset and sizes To Load Different Pictures
With srcset on the img tag you can tell the browser to load different images based on screen size.
To really get the hang of this, best check out the MDN docs.
What you need to know about srcset
-
Important: If the browser already has a large image, it won't load smaller ones.
So to see this in action, you have to start with a tiny browser window, loading the 250px - then make it larger to see bigger pictures load.
- The main picture in
src is used in all old browsers
- You can also use
srcset to specify different resolutions for retina displays.
- Important: the width specified in the
max-width is the view/page width, not the image width
Example with Different Files for Each Resolution
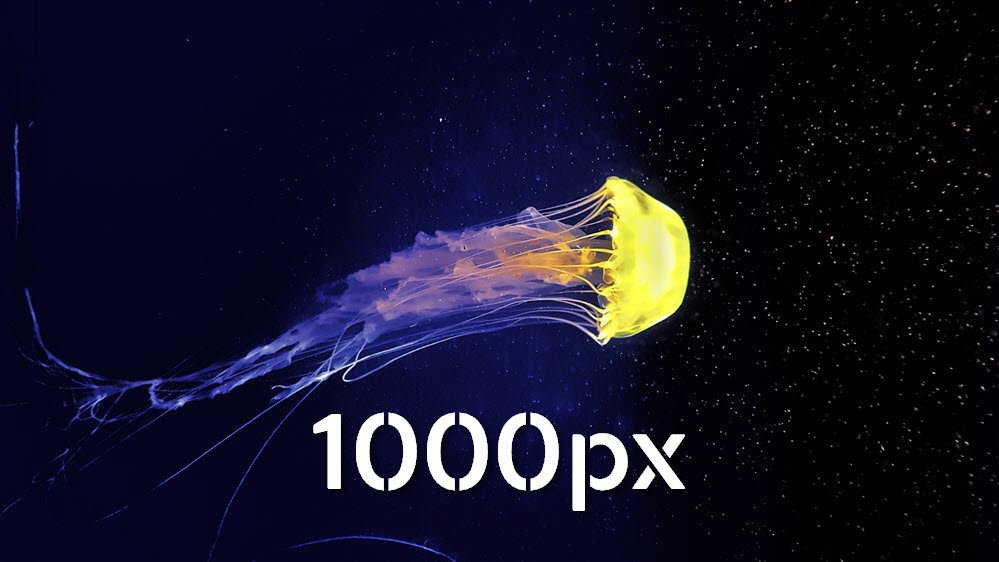
<img class="img-fluid" alt="Image SrcSet Demo"
  src="@App.Path/img/assets/jellyfish-img-srcset-1000.jpg"
  srcset="@App.Path/img/assets/jellyfish-img-srcset-2000.jpg 2000w,
          @App.Path/img/assets/jellyfish-img-srcset-1000.jpg 1000w,
          @App.Path/img/assets/jellyfish-img-srcset-500.jpg 500w,
          @App.Path/img/assets/jellyfish-img-srcset-250.jpg 250w,">
Example with Automatically Resized Files for Each Resolution
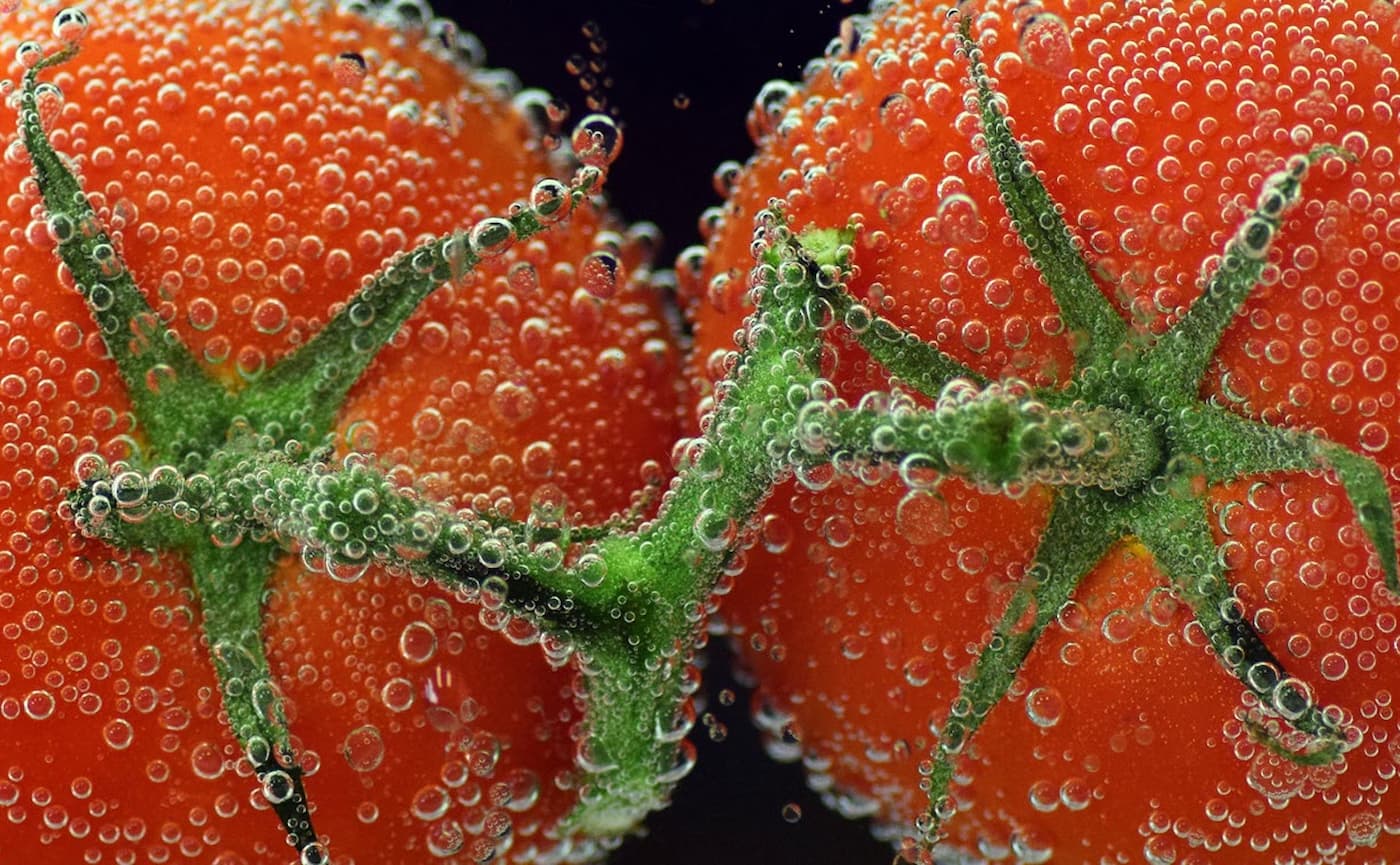
@{
  var tomatoPicUrl = App.Path +  "/img/assets/pexels-pixabay-533288.jpg";
}
@Kit.Image.Img(tomatoPicUrl)
This generates
<img src='/Portals/0/2sxc/Tutorial-Razor/img/assets/pexels-pixabay-533288.jpg?w=1400&h=865&quality=75&mode=crop&scale=both' loading='lazy' class='img-fluid' width='1400' height='865'>
Example with Automatic Resize and Special Settings
The following example (and the ones after this) will use a flatter image to make it easier to see all the samples.
To achieve this, we must create ResizeSettings for this. It will be based on the default Content settings.

@{
  var flatSettings = Kit.Image.Settings(Settings.Images.Content, aspectRatio: "8:1");
  // The following line uses the imgSvc (IImageService) created in the previous example
}
@Kit.Image.Img(tomatoPicUrl, settings: flatSettings)
This generates
<img src='/Portals/0/2sxc/Tutorial-Razor/img/assets/pexels-pixabay-533288.jpg?w=1400&h=175&quality=75&mode=crop&scale=both' loading='lazy' class='img-fluid' width='1400' height='175'>
Example with Automatic Resize and Special SrcSets
The default settings contains a list of default resizes - which is why the examples before just worked.
You can also specify your own, according to the specs in the
srcset docs.
@* The following line uses the imgSvc (IImageService) created in the previous example *@
@Kit.Image.Img(tomatoPicUrl, settings: flatSettings, recipe: "1600,1200,1000,900,800,700,600,500,400")
This generates
<img src='/Portals/0/2sxc/Tutorial-Razor/img/assets/pexels-pixabay-533288.jpg?w=1400&h=175&quality=75&mode=crop&scale=both'>
Automatic Resize with Custom alt and class
@* The following line uses the imgSvc (IImageService) created in the previous example *@
@Kit.Image.Img(tomatoPicUrl, settings: flatSettings,
  imgAlt: "SEO Text", imgClass: "border border-primary")
This generates
<img src='/Portals/0/2sxc/Tutorial-Razor/img/assets/pexels-pixabay-533288.jpg?w=1400&h=175&quality=75&mode=crop&scale=both' loading='lazy' alt='SEO Text' class='border border-primary img-fluid' width='1400' height='175'>
Automatic Resize with Detailed Control
@{
  var imgControlled = Kit.Image.Img(tomatoPicUrl, settings: flatSettings);
}
@* The following line uses the imgSvc (IImageService) created in the previous example *@
@imgControlled.Img.Id("Some-Id").Style("Width: 75%")
This generates
<img src='/Portals/0/2sxc/Tutorial-Razor/img/assets/pexels-pixabay-533288.jpg?w=1400&h=175&quality=75&mode=crop&scale=both' loading='lazy' class='img-fluid' width='1400' height='175' id='Some-Id' style='Width: 75%'>
Automatic Resize with Full Control
@{
  var imgFullControl = Kit.Image.Img(tomatoPicUrl, settings: flatSettings);
}
@* The following line uses the imgSvc (IImageService) created in the previous example *@
<img src="@imgFullControl.Src" srcset="@imgFullControl.SrcSet" title="Hover to see this">
This generates the following Srcset
#6 Responsive Server-Side Images (img)
@inherits Custom.Hybrid.Razor14
<!-- unimportant stuff, hidden -->
Best-Possible Image for Every Screen &... <!-- unimportant stuff, hidden -->
<!-- unimportant stuff, hidden -->
<img class="img-fluid" alt="Image SrcSet Demo"
src="@App.Path/img/assets/jellyfish-img-srcset-1000.jpg"
srcset="@App.Path/img/assets/jellyfish-img-srcset-2000.jpg 2000w,
@App.Path/img/assets/jellyfish-img-srcset-1000.jpg 1000w,
@App.Path/img/assets/jellyfish-img-srcset-500.jpg 500w,
@App.Path/img/assets/jellyfish-img-srcset-250.jpg 250w,">
<code id="img-srcset-label"></code>
<h3>Example with Automatically Resized Files for Each Resolution</h3>
@{
var tomatoPicUrl = App.Path + "/img/assets/pexels-pixabay-533288.jpg";
}
@Kit.Image.Img(tomatoPicUrl)
<code id="img-srcset-auto-label"></code>
<h3>Example with Automatic Resize and Special Settings</h3>
<p>
The following example (and the ones after this) will use a flatter image to make it easier to see all the samples.
To achieve this, we must create <code>ResizeSettings</code> for this. It will be based on the default <code>Content</code> settings.
</p>
@{
var flatSettings = Kit.Image.Settings(Settings.Images.Content, aspectRatio: "8:1");
// The following line uses the imgSvc (IImageService) created in the previous example
}
@Kit.Image.Img(tomatoPicUrl, settings: flatSettings)
<code id="img-srcset-auto2-label"></code>
<h3>Example with Automatic Resize and Special SrcSets</h3>
<p>
The default settings contains a list of default resizes - which is why the examples before just worked.
You can also specify your own, according to the specs in the
<a href="https://docs.2sxc.org/net-code/images/srcset.html" target="_blank">srcset docs</a>.
</p>
@* The following line uses the imgSvc (IImageService) created in the previous example *@
@Kit.Image.Img(tomatoPicUrl, settings: flatSettings, recipe: "1600,1200,1000,900,800,700,600,500,400")
<code id="img-srcset-auto-srcset-label"></code>
<h3>Automatic Resize with Custom <code>alt</code> and <code>class</code> </h3>
@* The following line uses the imgSvc (IImageService) created in the previous example *@
@Kit.Image.Img(tomatoPicUrl, settings: flatSettings,
imgAlt: "SEO Text", imgClass: "border border-primary")
<code id="img-srcset-auto3-label"></code>
<h3>Automatic Resize with Detailed Control</h3>
@{
var imgControlled = Kit.Image.Img(tomatoPicUrl, settings: flatSettings);
}
@* The following line uses the imgSvc (IImageService) created in the previous example *@
@imgControlled.Img.Id("Some-Id").Style("Width: 75%")
<br>
<code id="img-srcset-auto4-label"></code>
<h3>Automatic Resize with Full Control</h3>
@{
var imgFullControl = Kit.Image.Img(tomatoPicUrl, settings: flatSettings);
}
@* The following line uses the imgSvc (IImageService) created in the previous example *@
<img src="@imgFullControl.Src" srcset="@imgFullControl.SrcSet" title="Hover to see this">
<code id="img-srcset-auto5-label"></code>
<script>
showChangingSrc("#img-srcset img", "#img-srcset-label")
showChangingSrc('#img-srcset-auto img', '#img-srcset-auto-label');
showChangingSrc('#img-srcset-auto-srcset img', '#img-srcset-auto-srcset-label');
showChangingSrc('#img-srcset-auto2 img', '#img-srcset-auto2-label');
showChangingSrc('#img-srcset-auto3 img', '#img-srcset-auto3-label');
showChangingSrc('#img-srcset-auto4 img', '#img-srcset-auto4-label');
showChangingSrc('#img-srcset-auto5 img', '#img-srcset-auto5-label');
</script>
@*
Photo by <a href="https://unsplash.com/@dorianbaumann?utm_source=unsplash&utm_medium=referral&utm_content=creditCopyText">Dorian Baumann</a> on <a href="https://unsplash.com/s/photos/aescher?utm_source=unsplash&utm_medium=referral&utm_content=creditCopyText">Unsplash</a>
Werdenberg: Photo by <a href="https://unsplash.com/@calina?utm_source=unsplash&utm_medium=referral&utm_content=creditCopyText">Georg Bommeli</a> on <a href="https://unsplash.com/s/photos/buchs-sg?utm_source=unsplash&utm_medium=referral&utm_content=creditCopyText">Unsplash</a>
*@
@Html.Partial("../shared/_PreCodeFooter.cshtml")
@Html.Partial("../shared/_source-code.cshtml", new { Path, Size = 2450 })
<div class="alert alert-info">
<strong>Credits: </strong>
<ol>
<li>
Koi fish Photo by <a href="https://unsplash.com/@("@")agusprianto?utm_source=unsplash&utm_medium=referral&utm_content=creditCopyText">agus prianto</a> on <a href="https://unsplash.com/s/photos/colorful-shrimp?utm_source=unsplash&utm_medium=referral&utm_content=creditCopyText">Unsplash</a>
</li>
<li>
Jellyfish Photo by <a href="https://unsplash.com/@("@")kkkaran?utm_source=unsplash&utm_medium=referral&utm_content=creditCopyText">Karan Karnik</a> on <a href="https://unsplash.com/s/photos/sea-life?utm_source=unsplash&utm_medium=referral&utm_content=creditCopyText">Unsplash</a>
</li>
</ol>
</div>
</hide>