#8 Leverage the picture tag to the fullest
Best practices using the Image Service
Learn about the best practices for using the image service and more. Our goals are:
- Make sure every image is perfectly sized as needed
- Multiple sizes are provided for various use cases
- Labels and configs made by the editor (for example, setting a priority corner) are respected by the resizer
Info about the Base Class
This tutorial inherits from the Custom.Hybrid.Razor14 base class.
This allows us to use Kit.Image to access IImageService without having to use GetService<>
Image with URL vs. Field in img tag
As learned in the previous tutorials the img tag can be created out of URLs.
The image service can also be used with Fields. The field will contain the URL as well as additional Metadata like the description or what part of the picture is important (the Crop-Anchor).
To get the most out of 2sxc and its image configuration options
it's best to use the image object instead of URLs. By using the image configuration options,
the settings can be easily retrieved from the corresponding image.
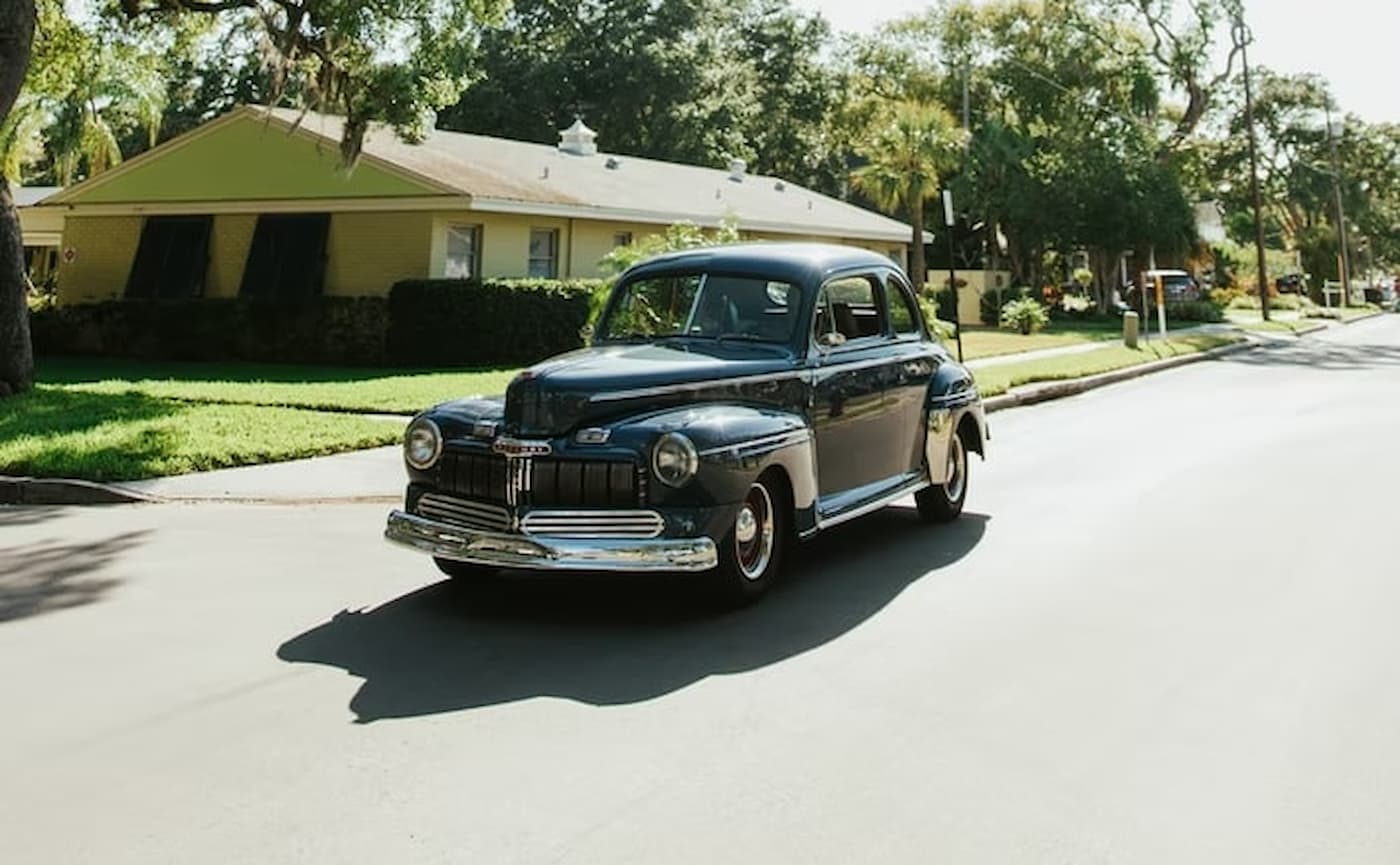
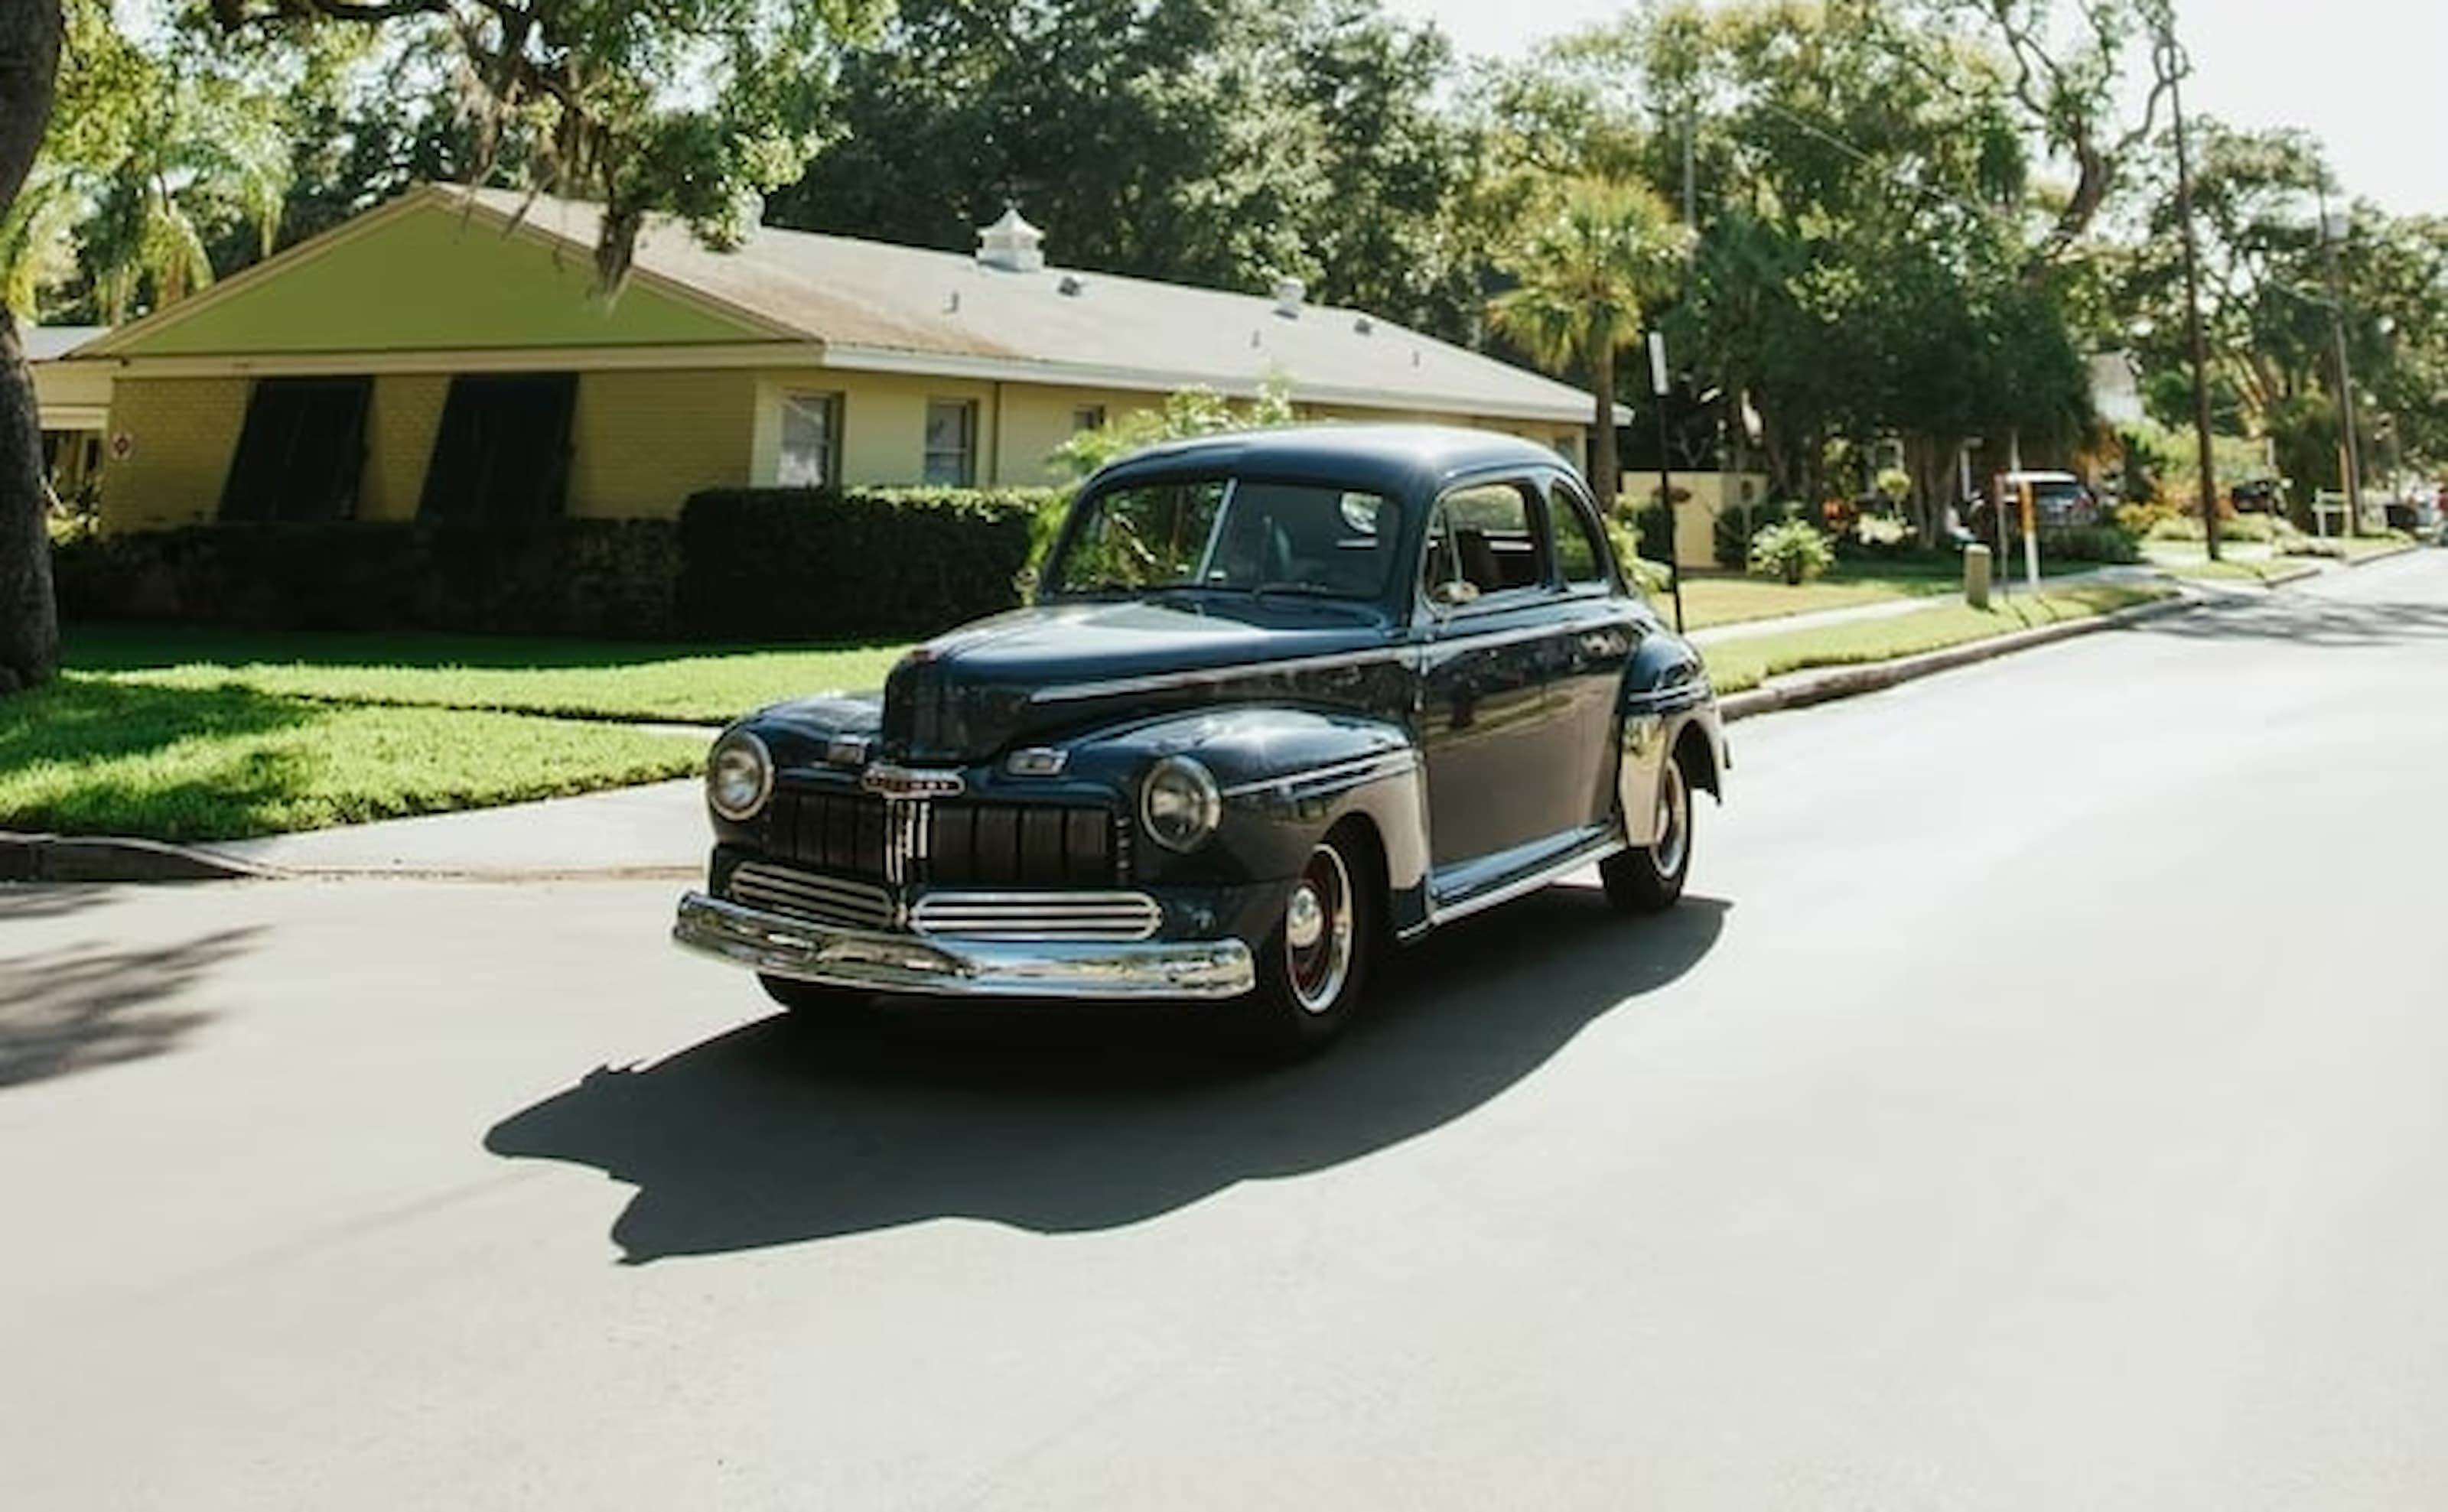
Picture from Content.Image

Picture from Field containing crop anchor and alt text

Image to the LEFT - code and generated HTML
      @* Picture from Content.Image *@
      @Kit.Image.Img(Content.Image)
<img src='/Portals/0/adam/Tutorial-Razor/1eSr_DjJnk-67Zdd4-fw2Q/Image/photo-1651590814269-ccf8dee671ae.jpg?w=1400&h=865&quality=75&mode=crop&scale=both'
loading='lazy'
class='img-fluid'
width='1400'
height='865'>
Image to the RIGHT (note the description and anchor-parameter in the URL)
      @* Picture from Field containing crop anchor and alt text *@
      @Kit.Image.Img(Content.Field("Image"))
<img src='/Portals/0/adam/Tutorial-Razor/1eSr_DjJnk-67Zdd4-fw2Q/Image/photo-1651590814269-ccf8dee671ae.jpg?w=1400&h=865&quality=75&mode=crop&scale=both&anchor=bottomcenter'
loading='lazy'
alt='This description was retrieved from the image metadata.'
class='img-fluid'
width='1400'
height='865'>
Picture with URL vs. Field in picture tag
As learned in the previous tutorials the picture tag can be created out of URLs.
The image service can also be used with Fields. The field will contain the URL as well as additional Metadata like the description or what part of the picture is important (the Crop-Anchor).
To get the most out of 2sxc and its image configuration options
it's best to use the image object instead of URLs. By using the image configuration options,
the settings can be easily retrieved from the corresponding image.
Picture from Content.Image

Picture from Field containing crop anchor and alt text

Image to the LEFT - code and generated HTML
      @* Picture from Content.Image *@
      @Kit.Image.Picture(Content.Image)
<picture>
<source type='image/jpeg'
srcset='/Portals/0/adam/Tutorial-Razor/1eSr_DjJnk-67Zdd4-fw2Q/Image/photo-1651590814269-ccf8dee671ae.jpg?w=1400&h=865&quality=75&mode=crop&scale=both'>
<img src='/Portals/0/adam/Tutorial-Razor/1eSr_DjJnk-67Zdd4-fw2Q/Image/photo-1651590814269-ccf8dee671ae.jpg?w=1400&h=865&quality=75&mode=crop&scale=both'
loading='lazy'
class='img-fluid'
width='1400'
height='865'>
</picture>
Image to the RIGHT (note the description and anchor-parameter in the URL)
      @* Picture from Field containing crop anchor and alt text *@
      @Kit.Image.Picture(Content.Field("Image"))
<picture>
<source type='image/jpeg'
srcset='/Portals/0/adam/Tutorial-Razor/1eSr_DjJnk-67Zdd4-fw2Q/Image/photo-1651590814269-ccf8dee671ae.jpg?w=1400&h=865&quality=75&mode=crop&scale=both&anchor=bottomcenter'>
<img src='/Portals/0/adam/Tutorial-Razor/1eSr_DjJnk-67Zdd4-fw2Q/Image/photo-1651590814269-ccf8dee671ae.jpg?w=1400&h=865&quality=75&mode=crop&scale=both&anchor=bottomcenter'
loading='lazy'
alt='This description was retrieved from the image metadata.'
class='img-fluid'
width='1400'
height='865'>
</picture>
Apply factor to the picture tag
The Image Service offers multiple parameters for further customization of the images, such as the factor.
The factor works as a resize multiplier for the image as for example (0.5).
Below you will find an example:
Picture using the factor 0.5

Picture using the factor 5

Image to the LEFT - code and generated HTML
      @* Picture using the factor 0.5 *@
      @Kit.Image.Picture(Content.Field("Image"), factor: 0.5)
<picture>
<source type='image/jpeg'
srcset='/Portals/0/adam/Tutorial-Razor/1eSr_DjJnk-67Zdd4-fw2Q/Image/photo-1651590814269-ccf8dee671ae.jpg?w=700&h=432&quality=75&mode=crop&scale=both&anchor=bottomcenter'>
<img src='/Portals/0/adam/Tutorial-Razor/1eSr_DjJnk-67Zdd4-fw2Q/Image/photo-1651590814269-ccf8dee671ae.jpg?w=700&h=432&quality=75&mode=crop&scale=both&anchor=bottomcenter'
loading='lazy'
alt='This description was retrieved from the image metadata.'
class='img-fluid'
width='700'
height='432'>
</picture>
Image to the RIGHT (note higher resolution)
      @* Picture using the factor 5 *@
      @Kit.Image.Picture(Content.Field("Image"), factor: 5)
<picture>
<source type='image/jpeg'
srcset='/Portals/0/adam/Tutorial-Razor/1eSr_DjJnk-67Zdd4-fw2Q/Image/photo-1651590814269-ccf8dee671ae.jpg?w=3200&h=1977&quality=75&mode=crop&scale=both&anchor=bottomcenter'>
<img src='/Portals/0/adam/Tutorial-Razor/1eSr_DjJnk-67Zdd4-fw2Q/Image/photo-1651590814269-ccf8dee671ae.jpg?w=3200&h=1977&quality=75&mode=crop&scale=both&anchor=bottomcenter'
loading='lazy'
alt='This description was retrieved from the image metadata.'
class='img-fluid'
width='3200'
height='1977'>
</picture>
Create multiple image variants
The picture tag contains multiple configurations of images, which are called recipes in our ecosystem.
The browser then chooses the optimal configuration based on the given srcset.
Using the .Recipe("") method from the image service, you can easily add more size variants of your images.
Below you will find an example:
Picture default recipe

Picture with variants for 2x and 3x of the image size

Image to the LEFT - code and generated HTML
      @* Picture using the default *@
      @Kit.Image.Picture(Content.Field("Image"))
<picture>
<source type='image/jpeg'
srcset='/Portals/0/adam/Tutorial-Razor/1eSr_DjJnk-67Zdd4-fw2Q/Image/photo-1651590814269-ccf8dee671ae.jpg?w=1400&h=865&quality=75&mode=crop&scale=both&anchor=bottomcenter'>
<img src='/Portals/0/adam/Tutorial-Razor/1eSr_DjJnk-67Zdd4-fw2Q/Image/photo-1651590814269-ccf8dee671ae.jpg?w=1400&h=865&quality=75&mode=crop&scale=both&anchor=bottomcenter'
loading='lazy'
alt='This description was retrieved from the image metadata.'
class='img-fluid'
width='1400'
height='865'>
</picture>
Image to the RIGHT (note different variants)
      @{
        var customRecipe = Kit.Image.Recipe("2*, 3*");
      }
      @* Picture using recipe with 2x and 3x variants *@
      @Kit.Image.Picture(Content.Field("Image"), recipe: customRecipe)
<picture>
<source type='image/jpeg'
srcset='/Portals/0/adam/Tutorial-Razor/1eSr_DjJnk-67Zdd4-fw2Q/Image/photo-1651590814269-ccf8dee671ae.jpg?w=1400&h=865&quality=75&mode=crop&scale=both&anchor=bottomcenter'>
<img src='/Portals/0/adam/Tutorial-Razor/1eSr_DjJnk-67Zdd4-fw2Q/Image/photo-1651590814269-ccf8dee671ae.jpg?w=1400&h=865&quality=75&mode=crop&scale=both&anchor=bottomcenter'
alt='This description was retrieved from the image metadata.'>
</picture>
Choose the optimal alt text
By passing the image object, the picture tag will apply the alt text automatically.
Because alt texts are not always defined in the settings, different texts can be set as fallback.2sxc
Preferably in that case, the image alt text has priority over other texts.
We can create a fallback by using the Text.First(text1, text2) Method from Razor Blade.
Below you will find an example:
Image with optimal alt text (This description was retrieved from the image metadata.)
@{
  var fallbackAltText = "Fallback";

  var imageFieldWithAltText = Content.Field("Image");
  var optimalAltText = Text.First(imageFieldWithAltText.Metadata.Description, fallbackAltText);
}
<div>
  <p><strong>Image with optimal alt text (@optimalAltText)</strong></p>
  <div style="width: 25%;">
    @Kit.Image.Picture(imageFieldWithAltText, imgAlt: optimalAltText)
  </div>
</div>
This generates:
<picture>
<source type='image/jpeg'
srcset='/Portals/0/adam/Tutorial-Razor/1eSr_DjJnk-67Zdd4-fw2Q/Image/photo-1651590814269-ccf8dee671ae.jpg?w=1400&h=865&quality=75&mode=crop&scale=both&anchor=bottomcenter'>
<img src='/Portals/0/adam/Tutorial-Razor/1eSr_DjJnk-67Zdd4-fw2Q/Image/photo-1651590814269-ccf8dee671ae.jpg?w=1400&h=865&quality=75&mode=crop&scale=both&anchor=bottomcenter'
loading='lazy'
alt='This description was retrieved from the image metadata.'
class='img-fluid'
width='1400'
height='865'>
</picture>
#8 Leverage the picture tag to the fullest
@inherits Custom.Hybrid.Razor14
@using ToSic.Razor.Blade;
<!-- unimportant stuff, hidden -->

Best practices using the Image Service... <!-- unimportant stuff, hidden -->

@Html.Partial("../shared/_KitBaseClassInfoBox.cshtml", new { ServiceName = "Image", Service = "IImageService" })

<h2>Image with URL vs. Field in <code>img</code> tag</h2>
<p>
  As learned in the previous tutorials the <code>img</code> tag can be created out of URLs.
  The image service can also be used with Fields. The field will contain the URL as well as additional Metadata like the description or what part of the picture is important (the Crop-Anchor).
</p>
<p>
  To get the most out of 2sxc and its image configuration options
  it's best to use the image object instead of URLs. By using the image configuration options,
  the settings can be easily retrieved from the corresponding image.
</p>

<!-- unimportant stuff, hidden -->
<div class="row">
  <div class="col-md">

    <p><strong>Picture from <code>Content.Image</code></strong></p>

      @* Picture from Content.Image *@
      @Kit.Image.Img(Content.Image)


  </div>
  <div class="col-md">

    <p><strong>Picture from <code>Field</code> containing crop anchor and alt text</strong></p>

      @* Picture from Field containing crop anchor and alt text *@
      @Kit.Image.Img(Content.Field("Image"))


  </div>
</div>


<h2>Picture with URL vs. Field in <code>picture</code> tag</h2>
<p>
  As learned in the previous tutorials the <code>picture</code> tag can be created out of URLs.
  The image service can also be used with Fields. The field will contain the URL as well as additional Metadata like the description or what part of the picture is important (the Crop-Anchor).
</p>
<p>
  To get the most out of 2sxc and its image configuration options
  it's best to use the image object instead of URLs. By using the image configuration options,
  the settings can be easily retrieved from the corresponding image.
</p>

<div class="row">
  <div class="col-md">

    <p><strong>Picture from <code>Content.Image</code></strong></p>

      @* Picture from Content.Image *@
      @Kit.Image.Picture(Content.Image)


  </div>
  <div class="col-md">

    <p><strong>Picture from <code>Field</code> containing crop anchor and alt text</strong></p>

      @* Picture from Field containing crop anchor and alt text *@
      @Kit.Image.Picture(Content.Field("Image"))


  </div>
</div>


@*
  * example with other Recipe like "2x, 3x" - mit Settings
*@

<h2>Apply factor to the <code>picture</code> tag</h2>
<p>
  The Image Service offers multiple parameters for further customization of the images, such as the factor.
  The factor works as a resize multiplier for the image as for example (0.5).
  <br><br>
  Below you will find an example:
</p>

<div class="row">
  <div class="col-md">

    <p><strong>Picture using the factor <code>0.5</code></strong></p>

      @* Picture using the factor 0.5 *@
      @Kit.Image.Picture(Content.Field("Image"), factor: 0.5)


  </div>
  <div class="col-md">

    <p><strong>Picture using the factor <code>5</code></strong></p>

      @* Picture using the factor 5 *@
      @Kit.Image.Picture(Content.Field("Image"), factor: 5)


  </div>
</div>


<h2>Create multiple image variants</h2>
<p>
  The picture tag contains multiple configurations of images, which are called recipes in our ecosystem.
  The browser then chooses the optimal configuration based on the given srcset.

  Using the <code>.Recipe("")</code> method from the image service, you can easily add more size variants of your images.
  <br><br>
  Below you will find an example:
</p>

<div class="row">
  <div class="col-md">

    <p><strong>Picture default recipe</strong></p>

      @* Picture using the default *@
      @Kit.Image.Picture(Content.Field("Image"))


  </div>
  <div class="col-md">
    <p><strong>Picture with variants for 2x and 3x of the image size</strong></p>

      @{
        var customRecipe = Kit.Image.Recipe("2*, 3*");
      }
      @* Picture using recipe with 2x and 3x variants *@
      @Kit.Image.Picture(Content.Field("Image"), recipe: customRecipe)


  </div>
</div>


<br>

<h2>Choose the optimal alt text</h2>
<p>
  By passing the image object, the picture tag will apply the alt text automatically.
  <br>
  Because alt texts are not always defined in the settings, different texts can be set as fallback.2sxc
  Preferably in that case, the image alt text has priority over other texts.
  We can create a fallback by using the <code>Text.First(text1, text2)</code> Method from Razor Blade.
  <br><br>
  Below you will find an example:
</p>

<!-- unimportant stuff, hidden -->

@{
  var fallbackAltText = "Fallback";

  var imageFieldWithAltText = Content.Field("Image");
  var optimalAltText = Text.First(imageFieldWithAltText.Metadata.Description, fallbackAltText);
}
<div>
  <p><strong>Image with optimal alt text (@optimalAltText)</strong></p>
  <div style="width: 25%;">
    @Kit.Image.Picture(imageFieldWithAltText, imgAlt: optimalAltText)
  </div>
</div>


<!-- unimportant stuff, hidden -->